bird photography
Background
I bought my first SLR kit a few months before going on my honeymoon to Hawaii in April 1983. It was a Canon AE-1 Program and the only lens I had at the time was a Canon FD50/1.8. I borrowed a wide-angle lens from my brother-in-law and was able to take plenty of decent "snap shots." Over the years that's exactly how I used it - as a point and shoot camera. When lighting conditions were good or when using flash indoors, I got OK "snap shots." But, whenever the lighting was tricky or unusual, my lousy pictures disappointed, confused and frustrated me. Not understanding exposure and blindly trusting the camera's exposure meter are typical characteristics of the newbie photographer. I added an inexpensive Canon 70-200mm zoom lens, but was still ignorant about exposure and how to make correctly exposed photographs.
Around 1987 I became interested in birds and bird watching and thought that a natural extension of my photography interests would be to take pictures of birds. Well, anyone who has tried to photograph birds can probably see where this was heading. Most birds are relatively tiny and even the larger ones don't let you casually get close enough to make frame-filling images. So here I am, not understanding exposure and taking "snap shots" of birds, the results of which were barely discernible "specks" at the center of 4x6 prints. To top it off, I became interested in birds of prey and tried to make photos of perched and flying hawks. These would generally result in two basic "types" of photos.
- a forest or large group of trees with a tiny brown speck in the middle representing the hawk
- an under-exposed and out-of-focus tiny image of a flying hawk
Among my many frustrating bird photography experiences one in particular stands out that made me consider getting a little more serious about my "hobby." A friend, Earl Hodnett, and I were out on another friend's (John Weske) boat in the marshes near Oyster, Virginia climbing channel markers and banding the nestling Osprey that were making their homes there.

While Earl was on a ladder between the boat and the channel marker afixing the bands to the nestling, I was trying to photograph the adult Osprey that would dive bomb Earl while he was up on the ladder. Imagine trying to manually focus on this stooping and swooping mama Osprey that was virtually on top of us. Not surprisingly, the resulting iamges were pretty bad, spoiling a great opportunity that doesn't come around very often.
Not too long after that fiasco I had an opportunity to go on a Raptours hawk-watching trip to southeast Arizona with noted raptor expert, author and photographer, William S. Clark. Prior to that trip I did a little bit of research and came to the conclusion that Canon's autofocus camera bodies were pretty effective and way ahead of Nikon at the time, so I upgraded my camera gear to a Canon EOS A2 body and a Tamron AF 200-400/5.6 LD lens. I also took the time to learn about exposure, at least a little, so that on our trip to Arizona I actually took a couple of decent pictures. To make a long story short, modern autofocus equipment and a little bit of knowledge about exposure went a long way towards improving my bird photography.
I began practicing and gettting more experience with and learning the capabilities and limitations of my equipment. I discovered that the Tamron took nice images, but it's focusing motor was much too slow for my purposes. I also wanted a heartier, more robust camera body that would stand up to inclement weather conditions and hard knocks, so I upgraded my equipment in relatively short order. So, since that trip to Arizona and for about 11 years I used a Canon EOS 1N camera body with a Canon EF300/2.8L telephoto lens, including 1.4X and 2X tele-extenders when needed. Around 1996 I took a photography workshop in Cape May, New Jersey aimed at learning and improving birds in flight photgraphic skills. While this workshop didn't turn me into an expert overnight, as with all things, a little more experience and instruction from the experienced never hurts.
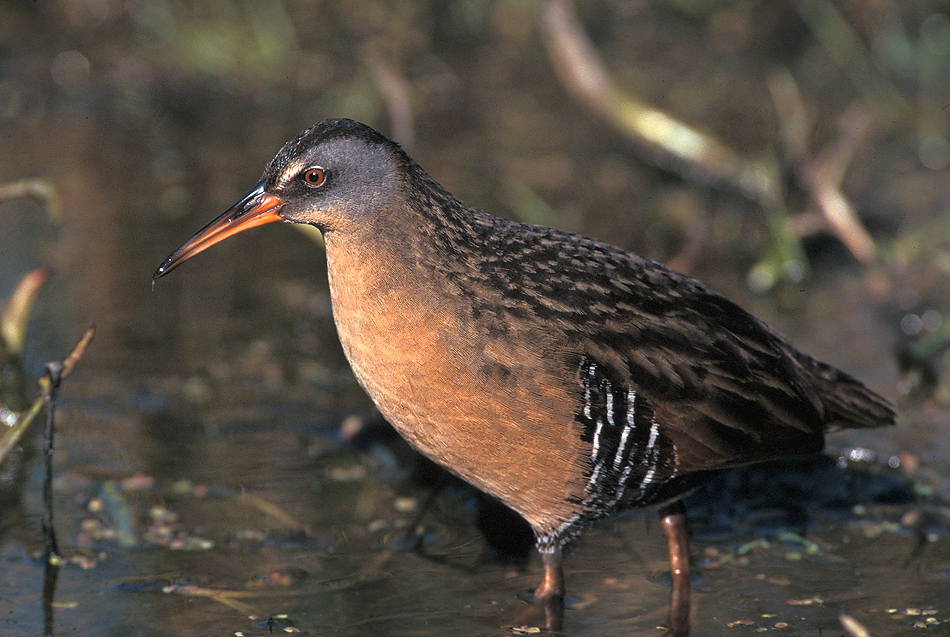
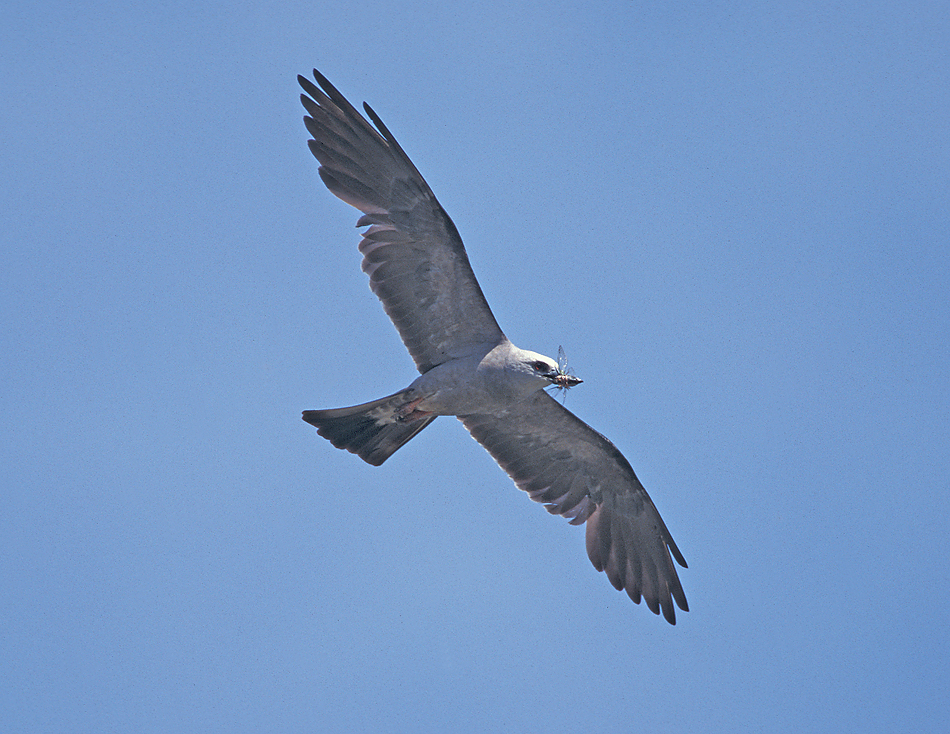
The Canon EOS 1N was a 35-mm film body and I shot slides, so for several years I used a Nikon Coolscan IV ED film scanner to digitize my 35-mm transparencies and a few of the images on our website were created with it. This combination of photography and scanning equipment has taken many nice photos and has only been limited by my skills or lack thereof. You can click on the thumbnails below to see higher-resolution images.

The next greatest invention since sliced bread and autofocus cameras was the digital SLR and after delaying for much too long, I finally upgraded to a Canon EOS 30D body. Fortunately, all my older Canon lenses were still compatible with the new Canon digital bodies, because I'd have a hard time justifying to myself and Suzanne the expense of replacing that nice Canon 300/2.8. Photo-quality printers are also relatively inexpensive, so I've been digitally processing and printing some of my better images. It's easy to print images at home that equal or exceed professional labs. Photoshop and Epson have made it pretty easy for the amateur photographer to make great-looking prints.


Current Gear
- Canon EOS 1D Mk IV
- Canon EOS 7D Mk II
- Canon EOS EF600 f/4L IS II USM
- Canon EOS EF100-400 f/4.5-5.6L IS II USM
- Canon EOS EF17-40L USM
- Canon EOS EF28-105 USM
- Canon EOS EF-M 100/2.8U LO LH
- Canon EOS EXT 1.4X Mk III
- Canon EOS EXT 2X Mk III
- Gitzo GT3541LS CF 6x Tripod
- Canon SpeedLite 580EX
- Quantum Turbo 2x2 Battery